Overview
If you are putting your class online for the first time you might have a series of slide decks that you use in your face-to-face class. This is a good starting point; however, it will not be a good learning experience for your students to read through your slides without any context. Additionally, it is not ideal to pair the PowerPoint slides with a video/audio and do the same presentation you would have for your in-person class. We have short attention spans, and our online lives are even more distracted. There are two paths that you can go with using your existing PowerPoint slides:
- Converting that content to written module content
- Break the slide decks into smaller, and more manageable mini lessons (These mini lessons can be one long recorded session that is broken up with quiz questions, polling, or another course activity.)
Convert your PowerPoint slides to written narrative
You might have written lecture notes that go along with your PowerPoint slides and you can use these, or any other outlines or written content that you use in your in-person classes, to create a blog like format. This option should only be used if you have enough time before the course goes live to develop this type of written course material. There are page features in Moodle and Canvas that will allow you to present a written narrative in your courses. Here is an example of a page from a course I taught on leadership where the slides have been converted to a blog-like format:
Dividing Slides Into Mini Lessons
Review your slides and block out sections that take you about 8-10 minutes to explain in your face-to-face class. You can create separate files or make a blank slide between the sections that note the end/beginning of a sub-section. Think of what you would like to happen during these breaks. Here are some ideas:
- An embedded quiz question or polling in the media piece - especially if you decide to record a longer piece over 10 minutes
- A full break in the file (you will have separate video/audio files) and a quiz question that is built in the LMS outside of the voice/video files
- A series of mini videos and a longer quiz at the end of the topic
Here is a link to a series of voice-over screencasts that cover the complex topic of using Amazon Web Services. They have been developed as mini lessons the learner can pick and choose which sub-topic to listen to. Each session is under 10 minutes and can be played multiple times.
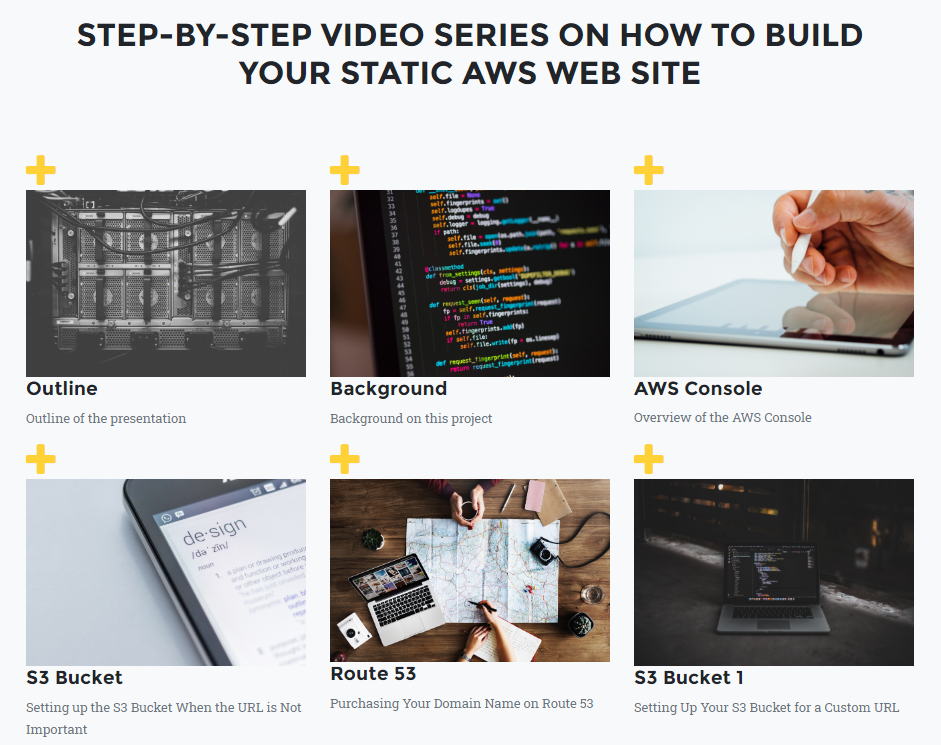
Credit: http://jenniferlivengood.com/aws.html
If you choose to go with this option, the next step is to work with an instructional designer and a video team to help you find appropriate technology to do a voice-over or a video recording of you presenting your slides.
Formatting Basics
- White, grey, or light colored backgrounds with black text with a sans-serif font like Open Sans or Arial. Avoid Times New Roman and similar fonts in your slides.
- Start with a blank white slide instead of a template. The templates can cause more problems if you have a special type of slide later on in your presentation and the pre-formatting could prevent you from building your slide. Do not worry about your design until you are finished with putting in your content.
- Include graphs, images, and other visual representations where appropriate and keep in mind these styling ideas:
- Use clip art sparingly. If you are working with an instructional designer, he or she can help you find visual representations of your idea if you find that you have too much clip art.
- Images that are pixelated or fuzzy are difficult for the students to read. Include clear images or have an instructional designer help you with recreating the image in Photoshop.
- About one to two images on one slide is the limit for images. More images on a single slide tend to look crowded and may be difficult for the learner to read.
- If you have multiple images, ask yourself if it is acceptable to put them on subsequent slides instead of trying to fit them all on one slide.
- Keep slides bulleted and brief - the majority of your content should be narrated or presented on a video if you choose this format for your online course.
- If you have a lot of content and you have to decrease the font size below 12 or 14 points, consider using additional slides or making a separate word processing document with the information.
- Slides should be in the standard 4:3 ratio so the presenter and slide deck will fit in the view of our learning management system.
- Have a slide review by an instructional designer, or person in a similar role to look at the design and composition of your slides.
- If you are working with a video team, send in the slides before the video shoot to allow our the team to preload the slides into the digital podium for your recording session.
- If you are going to have a long presentation - develop quiz question knowledge checks about every 8-10 minutes throughout your presentation. An instructional designer or video team member can help you integrate this technology in your presentation.
Here is a simple interactive presentation on best practices for designing your PowerPoint slides. Click the image or link below to go to this online presentation.
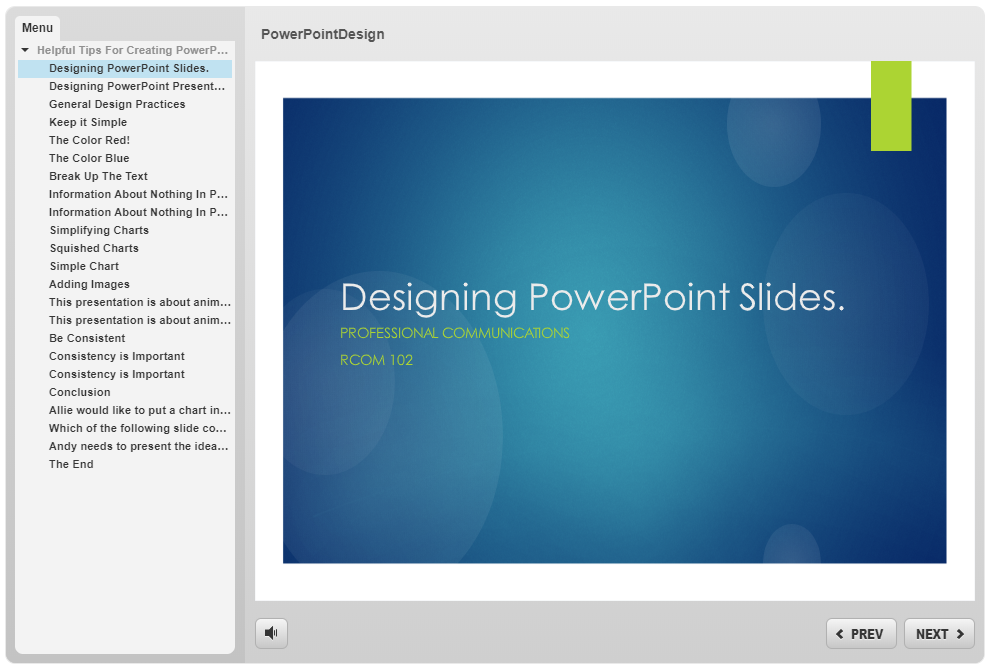
Credit: http://jenniferlivengood.com/PowerPoint/story_html5.html